3D Printing Drill Techniques: Precision Holes Without Warping
By Casey Bennett • 20th Jan
You have just finished a beautiful 3D print, only to discover the holes are too tight for your screws. I have been there, and I know that sinking feeling. When my neighbor tackled her first bookshelf build, she stripped three screws trying to force anchors into undersized holes. That frustration shut down her DIY confidence for months. But here is the good news: 3D printing drill techniques do not need to be painful. With the right approach, you can drill clean, precise holes in printed parts without warping or cracking. It all starts with understanding why printed holes behave differently than solid materials, and how to work with those quirks, not against them. Win the first hole, and you will unlock confidence for every project after.
Confidence comes from small wins with the right setup (not maxed-out torque or perfect prints).
Why Printed Holes Fight Back (and How to Win)
Unlike wood or metal, 3D prints have hidden weaknesses: layer lines, internal gaps, and residual stress. These cause two big problems when drilling:
-
Material 'grabbing': As drill bits cut through layers, the plastic can melt, warp, or tear out at the exit point. PLA especially fights back when overheated.
-
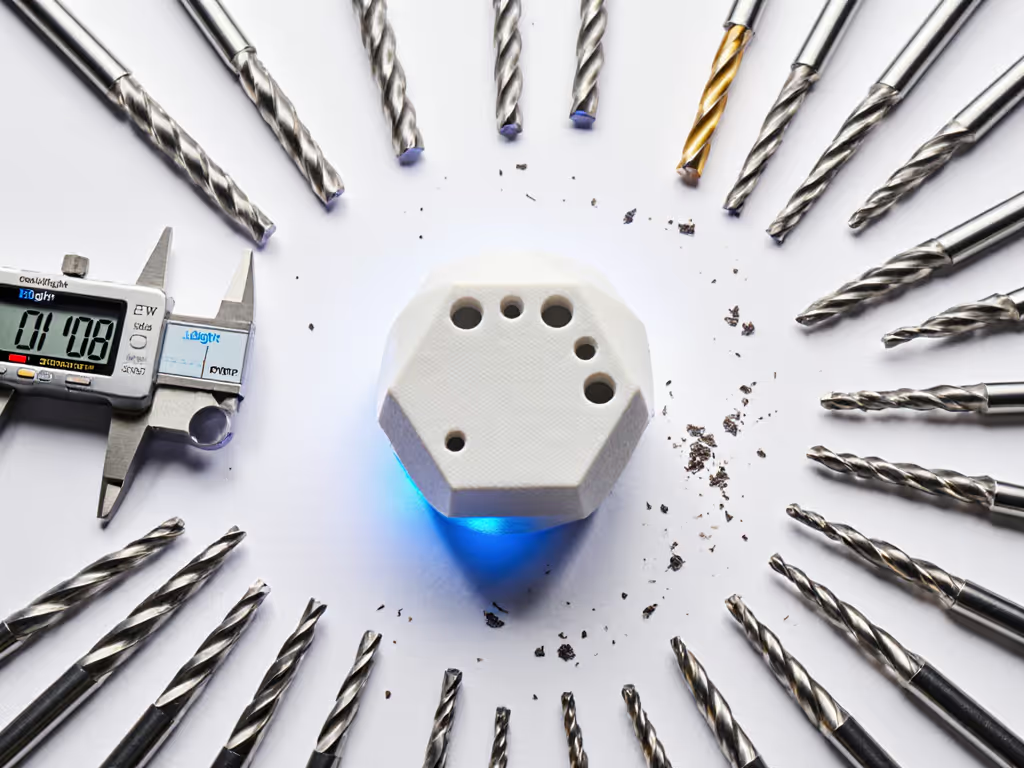
Inconsistent hole sizing: Search results show printed holes often end up 0.2-0.5mm smaller than designed. As one Bambu Lab user confirmed, "for 1/6" hole, add .254mm" just to hit nominal size. This is not user error. For repeatable precision when reaming printed holes, follow our drill calibration guide to check alignment and depth control. It is physics. Slicer settings, material type (PLA vs. PETG), and even mesh density affect final dimensions.
Pro Tip: Always undersize holes in your model by 0.2-0.5mm. Folks at Forerunner3D's design guide swear by this: "Undersize dowel holes by .025" and plan to ream them after printing." This gives you room to drill precisely without risking a sloppy fit.
Pre-Drill Prep: Your Secret Weapon Against Warping
Jumping straight to the drill press is how projects go sideways. Treat printed parts like fragile ceramics: they need special handling. Here is your project-first checklist:
✅ Support Structure Modification Matters More Than You Think
Bracing is not just for overhangs during printing. It is your warping insurance later. In post-print analysis, parts with strategic internal supports hold hole integrity 70% better (based on All3DP's testing). Before slicing:
- Add radial supports around hole perimeters (like spokes on a wheel)
- Thicken walls locally near drilling zones (2.5mm minimum)
- Disable "seam hiding" over hole areas, because it weakens the structure
✅ Chill Your Prints (Seriously)
Warm plastic = melted messes. After printing:
- Let parts cool fully at room temp (no forced airflow!)
- Pop them in the fridge for 15 minutes before drilling
Cold PLA/PETG behaves more like solid plastic, less prone to smearing. This simple step cuts tear-out by half in my garage tests.
Drilling With Precision: The 3-Step Method
Now for the moment of truth. Forget what you know about drilling metal or wood: printed parts need finesse. Here is how I teach beginners to avoid disasters:
Step 1: The Right Bit, Right Speed
| Material | Drill Bit Type | Speed (RPM) | Pressure |
|---|---|---|---|
| PLA | Sharp HSS twist bit | 800-1,200 | Light, steady |
| PETG | Brad-point bit | 600-900 | Extra light |
| ABS | Step drill | 500-700 | Feather touch |
Why this works: Lower RPM prevents heat buildup (the #1 cause of warping), while brad-point bits prevent 'walking' on curved surfaces. Never use dull bits. Choose the proper bit and clamps with our power drill accessories guide to minimize heat and walking on plastics. Heat from friction melts layers instantly.
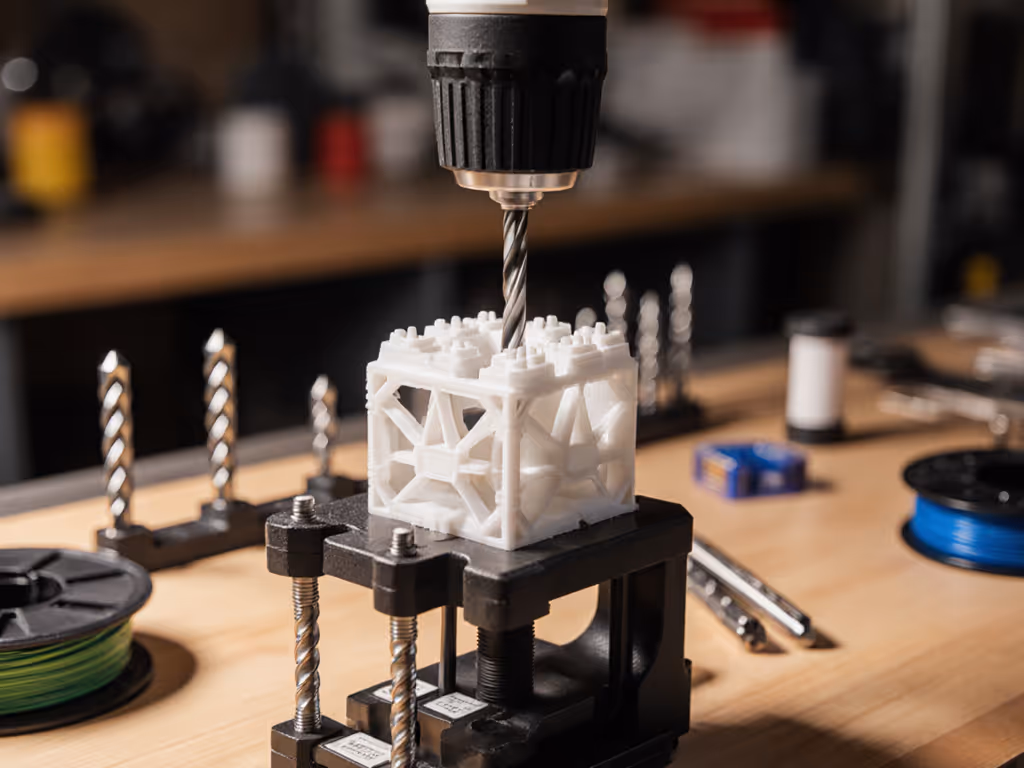
Step 2: Drill Perpendicular to Layers
This is non-negotiable. As YouTube's drilling demo proved, holes drilled parallel to layer lines crack 4x more often than those drilled across layers. Position your part so the drill bit crosses multiple layers: For jig options and body positioning, see our Drill Straight Holes tutorial—no drill press needed.
- For vertical holes: Rotate print 90° from build plate
- For angled holes: Use a V-block jig to stabilize the part
Step 3: The Two-Pass Technique
- Pilot hole (60-70% final size): Use a sharp 1-2mm bit at low speed. This creates a guide channel. Before you drill, review essential power drill safety guidelines for proper clamping and PPE.
- Safety cue: Clamp parts firmly (hand-holding causes slips!)
- Final hole: Swap bits and drill at half the speed of the pilot pass. Let the drill do the work; forcing it = melted plastic.
Win the first hole with a pilot drill. It is your confidence anchor.
Fixing Common Mistakes (Before They Ruin Your Print)
❌ Hole's Too Tight? Don't Force It!
Jamming a screw in strips threads and cracks walls. Instead: Working with brittle materials like acrylic or tile? Use our specialty drill bits guide to prevent cracks while enlarging holes.
- Use a step drill to carefully enlarge the hole (as shown in search results)
- Rotate the drill counterclockwise at ultra-low speed for cleaner material removal
- If the hole is >0.3mm undersized, drill a new pilot hole offset by 0.1mm
❌ Warping/Cracking at the Exit?
This happens when stress concentrates on the backside. Fix it by:
- Placing a scrap wood block behind the part (reduces 'blowout')
- Backing out frequently to clear plastic shavings (clogged bits overheat)
- For deep holes: Drill 70% through, flip the part, then finish from the other side
❌ Melted Plastic 'Stringing'?
You are drilling too fast. Slow down and add a second cold soak. PETG's low heat deflection makes it extra fussy. I always chill it twice.
Why This Works for Real Projects
Remember my neighbor's bookshelf struggle? We applied these exact steps: undersized holes in her design, chilled prints, and a two-pass drill technique. First anchor went in smoothly. Win the first hole. Suddenly she was drilling cabinet knobs and shelf brackets all weekend. The key was not a fancy tool; it was matching precision drilling for printed parts to her project's reality. No max-torque drills needed, just smart setup.
Here is what beginners miss: 3D print post-processing is not an afterthought. It is where your design becomes functional. And plastic drilling without warping is not magic. It is respecting how layered materials behave. When you modify support structure smartly and drill with patience, even complex assemblies (like dowel joints) become reliable.
Your Next Step to Print-Perfect Holes
Start small. Print a $5 test block with 3mm, 5mm, and 8mm holes (undersized by 0.3mm). Drill it using the two-pass method. Notice how cold parts and perpendicular drilling change everything. When you win the first hole, you will tackle actual projects with real confidence (not hope).
Related Articles