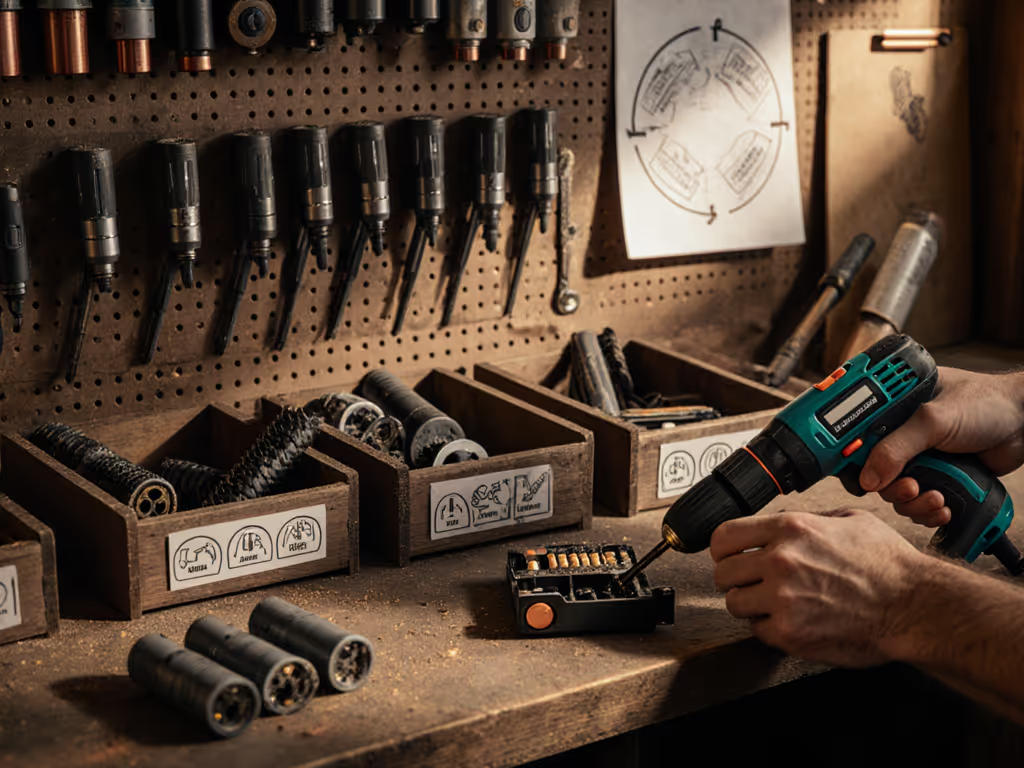
Drill Calibration Guide: Precision Holes Every Time
By Jordan Reyes • 26th Nov

Starting with under-load speed and holes-per-charge beats brochure specs every time. I've watched two drills sharing identical RPM ratings perform wildly differently under a spade bit, one sagged and smoked while the other held pace. That's why precision starts with calibration, not marketing claims. This guide delivers a field-tested protocol for drill calibration, turning spec sheets into predictable results. Forget no-load RPM; we measure what matters: consistent holes under real workloads. For a deeper breakdown of torque, RPM, and battery metrics, see our drill specifications guide. Let's map your drill's true performance.
Step 1: Measure Runout and Chuck Integrity
Chuck runout causes wobble, misaligned holes, and tear-out. Here's the data-first protocol:
- Insert a precision-ground dowel pin into your chuck.
- Mount a dial indicator perpendicular to the pin.
- Rotate the spindle manually, recording maximum deviation.
- Acceptable runout: <= 0.0015 inches for woodworking; <= 0.0005 inches for metal.
Over 0.003 inches? Rebuild or replace the chuck (no drill escapes physics).
LED work lights can improve visibility for runout checks in low light job sites. If your runout is in check but holes still wander, follow our drill straight holes tutorial.

DEWALT 20V MAX Cordless Drill and Impact Driver Combo Kit
Powerful, compact combo for diverse projects with comfort and control.
$179
Max Power (UWO)300
Max Power (UWO)300
Pros
High performance for wide range of applications.
Compact, lightweight design for tight spaces.
Ergonomic handles ensure comfort & control.
Cons
Mixed reviews on battery life consistency.
Some reports of tools breaking early.
Customers find the power tool set to be of good quality and excellent value, particularly for basement projects. The tools work well, with one customer noting it's very functional for home projects, and they appreciate its unbelievable power and good weight distribution.
Customers find the power tool set to be of good quality and excellent value, particularly for basement projects. The tools work well, with one customer noting it's very functional for home projects, and they appreciate its unbelievable power and good weight distribution.
Step 2: Verify Depth Stop Consistency
Depth-stop drift ruins joinery and hardware installation. Test empirically:
- Set the stop to a target depth (e.g., 0.75 inches).
- Drill 10 consecutive holes in scrap material.
- Measure each hole depth using digital calipers.
- Tolerances: +/- 0.005 inches for cabinetry; +/- 0.015 inches for framing.
Field finding: If measurements vary beyond tolerance, inspect the stop mechanism for debris or wear.
Step 3: Laser Alignment for Press Drills
Misaligned lasers mislead, causing off-center holes. Calibrate like laboratories:
- Secure a board with a squared edge against your bit.
- Adjust laser housings until beams project parallel lines along the board.
- Mark drill points; lower the bit to confirm convergence accuracy.
- Critical metric: Beams must intersect precisely at the drill point through full vertical travel.

Step 4: Test Under-Load Speed
Brochure RPM lies. Measure actual speed under resistance:
- Fit a torque wrench adapter onto your drill.
- Load the drill incrementally (e.g., 10% increments of rated torque).
- Record RPM at each load using a digital tachometer.
- Failure point: Speed drops >15% at 50% load indicate poor voltage regulation or motor design.
Step 5: Validate Hole-Per-Charge
Runtime unpredictability kills productivity. Simulate real tasks:
- Drill 1/4-inch holes in 2x4 pine at 10-second intervals.
- Count holes until battery depletion.
- Repeat in plywood and MDF (material density alters outcomes). To improve runtime consistency, consider optimized battery kits and chargers.
- Pro metric: Track holes-per-charge across 3 battery cycles to identify consistency decay.
Step 6: Clutch Calibration Check
Slipping clutches strip screws and damage materials. Calibrate dynamically:
- Set the clutch to mid-range (e.g., 8 on a 1-15 scale).
- Drive 50 #10 screws into dimensional lumber.
- Measure sink depth variability using depth-gauge calipers. For setup nuances and common mistakes, review drill clutch mechanics.
- Pass/fail: >0.02-inch depth deviation requires clutch servicing.
Step 7: Environmental Stress Testing
Cold-weather torque sag and thermal throttling hide in spec sheets. Replicate job-site extremes:
- Chill batteries to 35°F (1.5°C) for 2 hours.
- Repeat Step 4 (under-load speed test).
- Compare warm vs. cold RPM at 40% load. For extreme-weather protocols, use our battery temperature care guide.
- Red flag: >20% performance drop indicates poor battery chemistry or motor design.
Calibration isn't a one-time event (it is a baseline). Re-test every 500 holes or quarterly. Your drill's true capability lives in the delta between no-load promises and under-load reality. Document each test; that logbook will predict failures before they wreck your project.
Related Articles