Secure Power Drill TV Mounting: Step-by-Step Guide
By Amina Okafor • 21st Oct
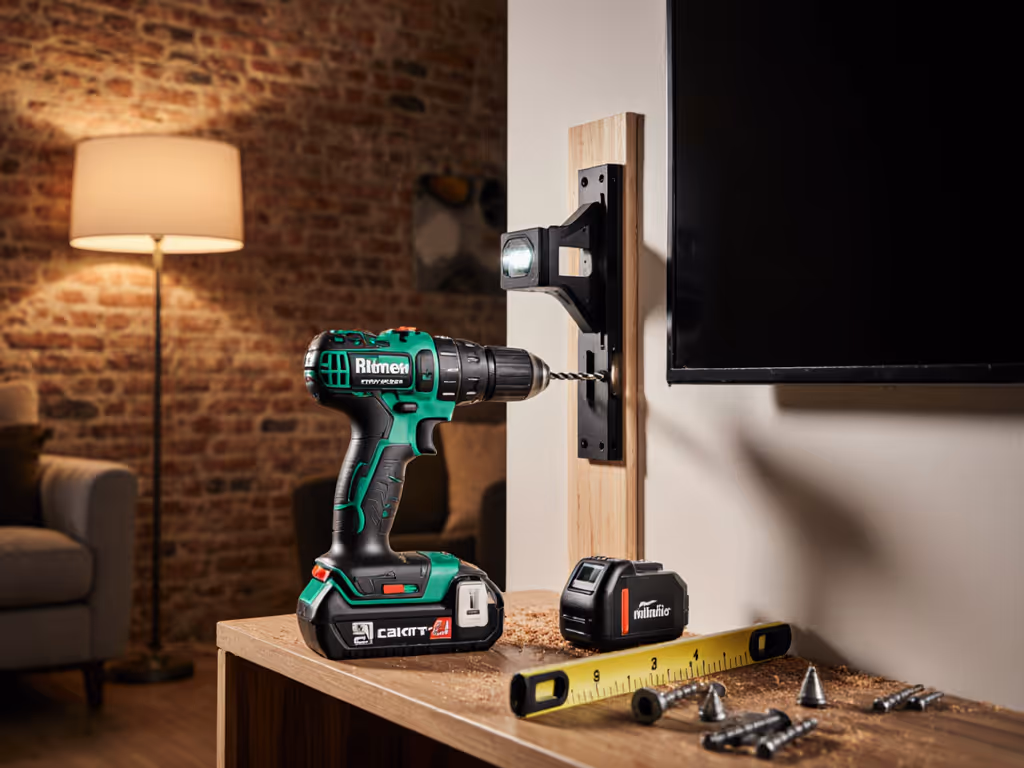
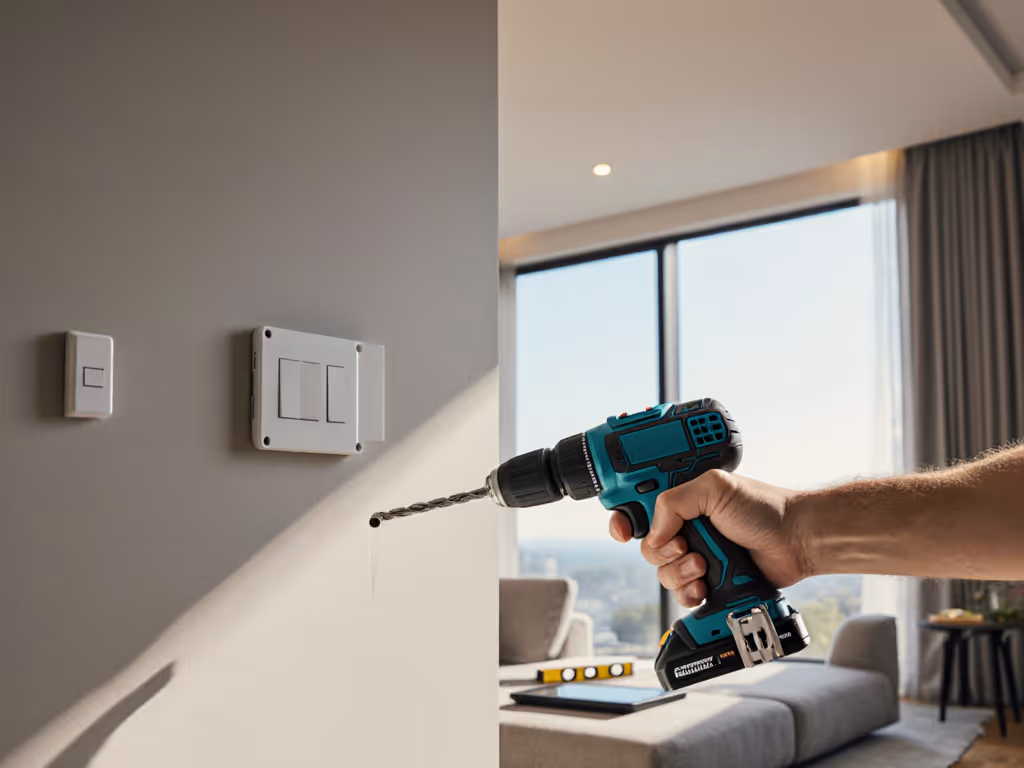
When you're learning how to mount TV with power drill properly, the right approach transforms what seems like a simple DIY project into a workflow first operation that protects your walls, your equipment, and your reputation. As someone who plans tool ecosystems for multi-crew jobs, I know that mounting hardware is only half the battle, the other half is ensuring your power tools perform consistently from the first pilot hole to the final torque check. Your drill isn't just a tool for this project; it's a critical link in your production chain.
Batteries are a workflow, not accessories (plan them like materials). This insight came after running three crews on a school retrofit where we ditched mixed-brand chaos. Standardizing our drill platforms cut mid-day dead-tool shuffles and reduced our battery carts from three to one, gaining eight hours weekly in productive uptime. The lesson? Uptime beats peak specs every time when you're on deadline.
Why Your Drill Choice Matters for TV Mounting
TV installation might seem straightforward, but it's a timeline-aware operation where tool selection directly impacts quality and efficiency. When mounting heavy entertainment systems, your drill must deliver consistent power without bogging down, especially when drilling into wooden studs through drywall. Choose a drill with sufficient torque (minimum 300 inch-pounds) and a reliable battery platform that won't quit halfway through your pilot holes.
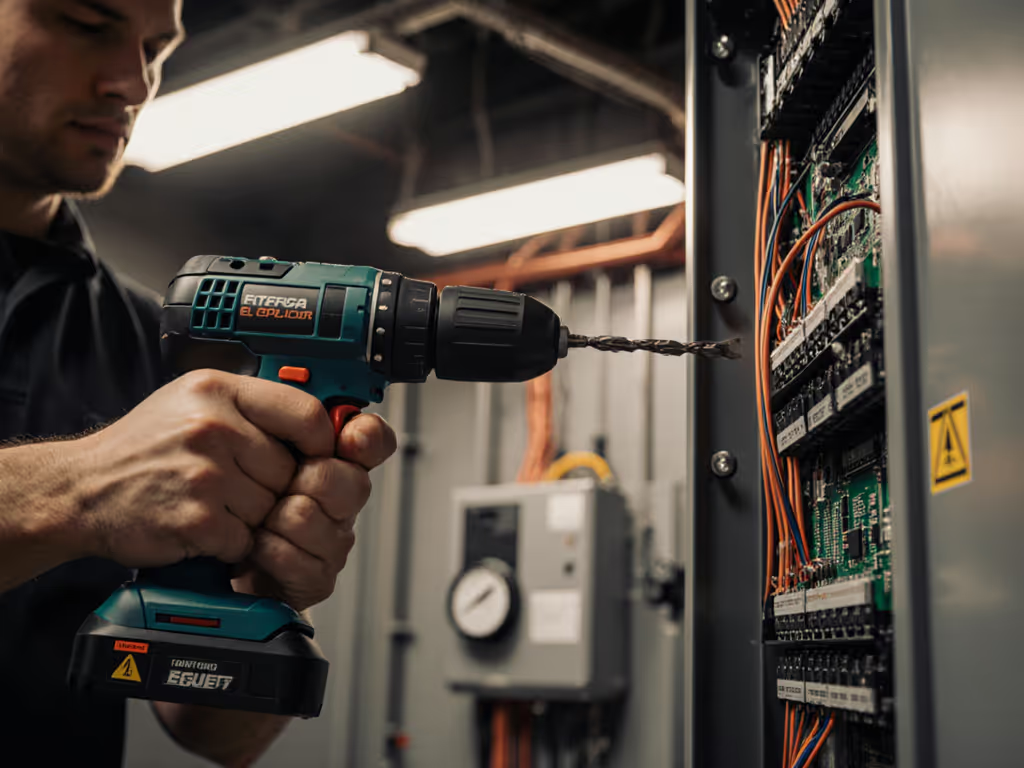
Risk-conscious professionals know that drill performance isn't just about raw power ratings. Under real-world conditions, voltage sag and thermal throttling can turn a "high-torque" drill into a productivity bottleneck. That's why I prioritize tools with predictable runtime over headline-grabbing specs, particularly on projects where you can't afford to swap batteries mid-installation.
Step-by-Step Guide to Professional TV Mounting
Following this checklist-driven approach ensures your mounting project stays on schedule and delivers professional results every time.
1. Assess Your Wall Structure & Plan Your Workflow
Before grabbing your drill, conduct a structural assessment. Most interior walls contain wooden studs spaced 16 or 24 inches apart. Use an electronic stud finder to locate them (don't guess). Mark both edges of each stud, then find the center. This dual verification prevents mounting failures from "near misses."
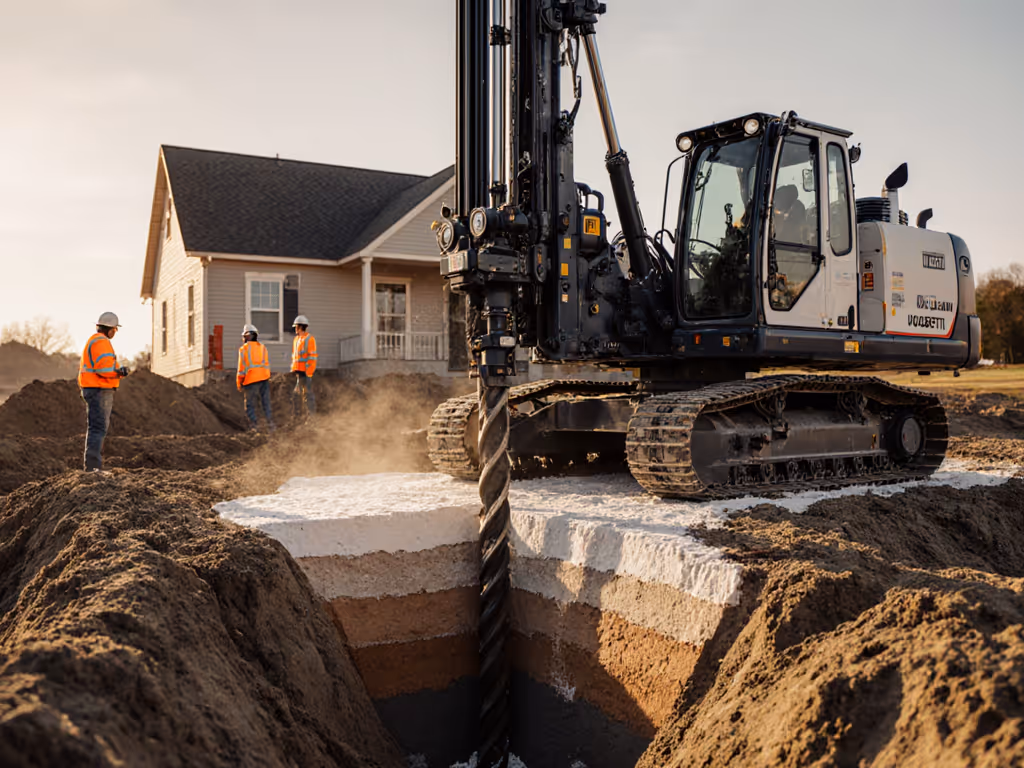
Your drilling workflow must account for the entire wall structure. If you're mounting in a location without stud support (like concrete or brick), you'll need different drill bits and anchors, planning this in advance prevents wasted trips to the hardware store mid-project. If you're anchoring into masonry, see our best rotary hammer drills for concrete to match the right tool with the job. For standard drywall installations, you'll be drilling into wood studs, where a power drill with sufficient torque (at least 300 inch-pounds) ensures clean pilot holes without splitting the wood.
2. Prepare Your Drill & Battery System
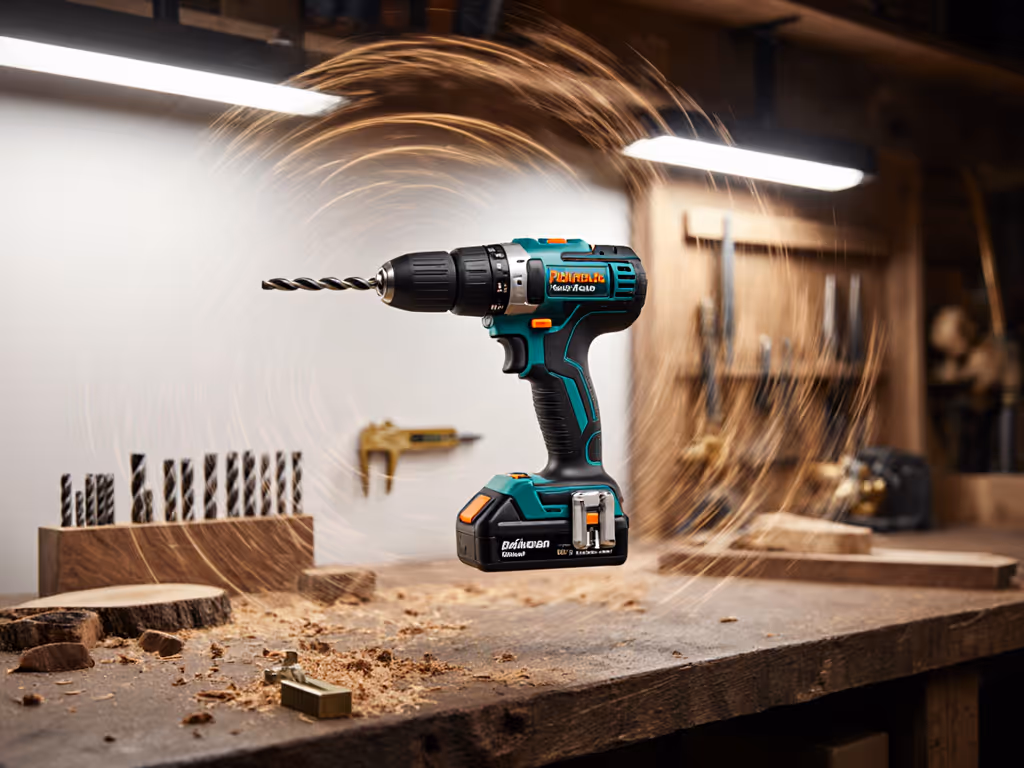
Select a drill with sufficient torque for wood stud penetration (minimum 300 inch-pounds) and pair it with a battery platform you trust. Drilling into studs requires consistent power delivery, not just peak torque numbers. A 20V platform with at least 2.0Ah capacity provides enough runtime for multiple installations without performance drop-off.

DEWALT 20V Max Cordless Drill/Driver Kit
Compact, powerful drill for diverse tasks, great value, and easy handling.
$116.75
Power Output300 UWO (Unit Watts Out)
Power Output300 UWO (Unit Watts Out)
Pros
Lightweight, compact design for tight spaces & reduced fatigue.
Strong motor handles wide range of drilling & fastening tasks.
Excellent value and durability for DIYers and pros.
Cons
Battery life feedback is mixed; some report inconsistent performance.
Customers find this cordless drill to be a quality tool that works well and is easy to use, particularly appreciating the simplicity of attaching bits. They praise its power, with one customer noting it's strong enough to drill through anything, and its lightweight design that's not too heavy to use for extended periods. Customers consider it good value for money and appreciate its durability. The battery life receives mixed feedback, with some customers reporting amazing performance while others mention issues with batteries not holding a charge.
Customers find this cordless drill to be a quality tool that works well and is easy to use, particularly appreciating the simplicity of attaching bits. They praise its power, with one customer noting it's strong enough to drill through anything, and its lightweight design that's not too heavy to use for extended periods. Customers consider it good value for money and appreciate its durability. The battery life receives mixed feedback, with some customers reporting amazing performance while others mention issues with batteries not holding a charge.
Check your battery's state of charge (don't assume it's ready). For crew work, I implement a "battery triage" system where fully charged packs are tagged green, partially charged yellow, and depleted red. This prevents mid-job downtime when mounting entertainment systems. If your drill has multiple speed settings, set it to the lower speed (0-450 RPM) for maximum torque during pilot hole drilling.
Batteries are logistics (treat the platform like an operations decision).
3. Mark and Measure with Precision
Hold your TV mounting bracket against the wall and use a 24-inch level to ensure perfect horizontal alignment. Mark the drill points with a sharp pencil directly through the bracket's mounting holes. Measure twice from the floor to ensure your TV height meets viewing ergonomics standards (typically 42 inches from floor to center of screen for seated viewing).
This stage separates professionals from amateurs. I've seen too many installations ruined by a rushed measurement phase. Take 30 seconds to verify your marks with a second level placed perpendicular to the first, as this catches subtle wall irregularities that could cause a crooked installation.
4. Drill Pilot Holes with Purpose
Select a drill bit slightly smaller than your lag bolts (typically 1/8 inch for standard TV mounts). Not sure which bit type or clamps to use? Our power drill accessories guide breaks down options by material and task. Drill straight into the stud center, penetrating at least 2-3 inches into the wood (just through the drywall isn't enough for secure mounting). Keep your drill perpendicular to the wall; even a 5-degree angle deviation can compromise holding strength. For perfect alignment, see our guide on drill straight holes without a drill press.
Drilling into studs requires sustained torque without bogging. If your drill struggles at this stage, it's a warning sign for larger installations. Professionals using quality drills on proper battery platforms rarely need to stop for battery swaps during this phase. You should complete all pilot holes on a single charge.
5. Mount the Bracket with Confidence
Position the bracket over your pilot holes with a helper holding it steady. Insert lag bolts with washers and tighten gradually in a diagonal pattern to ensure even pressure. Use a ratcheting socket wrench for the final tightening. Your drill provides initial torque, but hand tools give you better control for that critical last quarter-turn where over-tightening risks stripping the wood.
Check level again after full tightening. Many brackets shift slightly during final tightening. A perfectly level installation starts with precise pilot holes but requires this final verification step. For entertainment system mounting, this check prevents the constant visual annoyance of a crooked display.
6. Attach TV Mounting Hardware
Following your TV manufacturer's specifications, attach mounting hardware to the back of your television. Different TVs require different screw patterns and lengths, and using the wrong hardware can damage your screen. Apply thread-locker to prevent vibration from loosening screws over time.
This stage is where drill selection indirectly impacts your project. Having a second drill with a precision clutch setting (15-20 inch-pounds) prevents over-tightening small mounting screws into delicate TV housings, which is a common cause of cracked backs on expensive displays.
7. Final Installation and Safety Verification
Lift the TV onto the wall mount following the manufacturer's engagement sequence. Most mounts "click" audibly when properly seated. Perform a gentle tug test to verify secure attachment before releasing full support. Tuck in any release tabs and manage cables for a clean finish.
Before declaring the job complete, conduct a safety verification: ensure no cords are pinched, the mount doesn't wobble under light pressure, and the TV remains stable when adjusting viewing angles. For a full PPE and hazard-prevention checklist, review our power drill safety guidelines. For professional installations, this final check prevents costly callbacks and protects your reputation.
Building Your Mounting Workflow System
TV mounting exemplifies why I approach power tools as interconnected workflow systems rather than isolated purchases. The drill that powers your pilot holes today should be part of a platform that supports your future projects (from deck building to cabinet installation). When selecting tools, prioritize ecosystem scalability over "hero" specs that look impressive on paper but don't translate to job site reliability.
For more insights on building a tool ecosystem that supports your specific workflow demands, explore our deep dive on battery platform planning for multi-project households and professional crews. Understanding how your tools integrate, rather than focusing on individual specs, will transform your approach to every project, from simple TV mounts to complex home renovations.
Related Articles