Modular Drill Workshop Setup: Maximize Small Shop ROI
By Casey Bennett • 11th Dec
When your workspace feels tighter than a jammed chuck, it's time to rethink your modular drill workshop setup. For many DIYers and small contractors, that moment hits when you're tripping over tools, searching for the right battery, or realizing your "one-size-fits-all" drill isn't fitting any project well. That's where a smart small business tool investment becomes your shop's secret weapon, not just for drilling holes, but for building confidence in every project. I've seen too many beginners freeze up after one frustrating afternoon stripping screws on a bookshelf, convinced they're "not a tool person." But here's what I've learned: win the first hole, and everything else follows. Let's build your workshop around that simple truth.
Why Modular Drill Systems Solve Small Shop Struggles
The Space vs. Capability Trap
Most home workshops start with the same story: you buy a drill for one project, another for a different job, and suddenly you're managing a zoo of incompatible batteries and tools that eat up precious real estate. Your garage or shed becomes a "tool graveyard" where uncharged batteries and half-used drill bits collect dust. The result? Projects stall before they begin because finding the right tool feels like a scavenger hunt.
Modular drill systems flip this script by giving you one power source that transforms for different jobs. Learn how component-swappable setups multiply capability in our modular power drill systems guide. Instead of three separate tools (a standard drill, right-angle driver, and impact driver), you get one base unit with swappable heads. This isn't just about saving shelf space, it's about clearing mental clutter too. When your tools work with your workflow instead of against it, you'll actually start more projects. That's workshop efficiency tools in action.
Real ROI Beyond the Price Tag
Let's talk about what "ROI" really means for your shop. It's not just dollars, it's:
- Time saved swapping tools during projects
- Fewer abandoned projects because the right tool was accessible
- Longer tool life from using purpose-built attachments (no more forcing a bulky drill into tight cabinet spaces)
- Reduced frustration that makes you quit after the first stripped screw
Consider this: a modular system might cost 20% more upfront than a basic kit, but if it prevents just one project failure (like misdrilled cabinet hardware that requires buying replacement materials), you've already broken even. That's the tool investment ROI every small shop owner needs to see. For my neighbor Maria, switching from individual tools to a single modular system meant she went from "I can't do this" to fixing her entire porch railing in one weekend, starting with properly marked pilot holes and a clutch dialed for her deck screws. If you struggle to keep holes perfectly vertical, follow our step-by-step on drilling straight holes without a drill press.
Remember: Confidence comes from small wins with the right setup. Your tools should help you succeed at today's task while growing with tomorrow's ambitions.
Your Modular System Foundation: Starting Right
Step 1: Match Your Drill To Your Most Common Project (Not Maximum Torque)
Here's where most beginners go wrong: they buy the drill with the biggest number on the box, thinking "more torque = better." But in a small shop, you'll use 30% of that power 90% of the time. What you really need is small shop productivity through smart matching.
Start by listing your last 5 projects. What did they have in common?
- Mostly indoor repairs? Prioritize compact size (under 7" head length) and variable speed control for delicate materials
- Deck building or framing? Look for 1/2" chucks and concrete-capable hammer function
- Cabinet or furniture work? Choose a model with precise clutch settings (15+ positions) and LED lighting
My neighbor's bookshelf disaster happened because she used a full-size drill with no clutch control on thin plywood. When we switched to a compact modular system with a dedicated driver head, those first pilot holes went in perfectly. That's how you win the first hole.
Step 2: Plan Your Battery Ecosystem (Before You Buy)
Battery anxiety is real. Cut runtime guesswork with our cordless drill battery kits guide. Nothing kills momentum like realizing your drill's dead mid-project because you didn't plan for:
- Runtime needs (holes per charge in your common materials)
- Charger logistics (one charger for multiple battery types)
- Future-proofing (will this platform cover upcoming tools?)
Smart small shops follow this rule: Start with the project, then match the drill and batteries. Don't get locked into a platform just because it's popular. Instead, ask:
- "What one additional tool would make my life easiest next?" (Often an impact driver or reciprocating saw)
- "Does this brand offer a wall-mounted charging station that fits my space?"
- "Are replacement batteries affordable if I need to expand?"
I've seen DIYers waste hundreds buying incompatible tools because they chased specs instead of workflow. Your modular system should feel like a single tool family, not a mismatched orphanage.
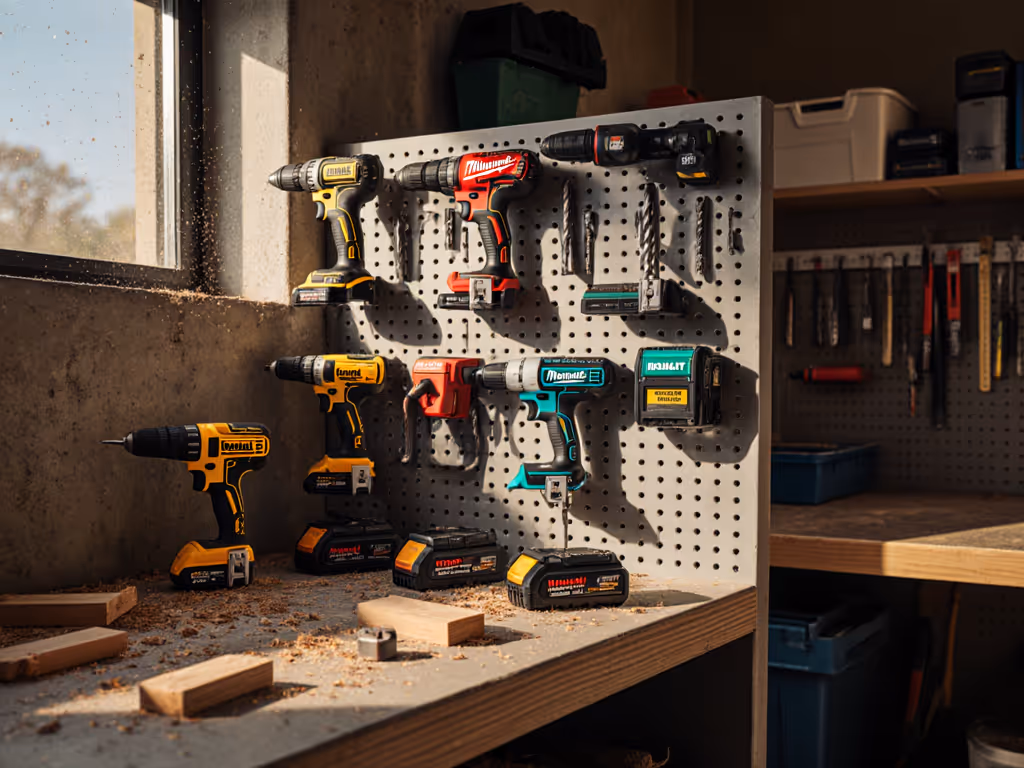
Step 3: Build Your Workspace Around Access, Not Storage
Small shops fail when they store tools away from where they're used. Your modular drill system deserves prime real estate where it lives in action, not buried in a cabinet. Here's my favorite setup:
- Wall-mounted charging station at eye level (no bending)
- Right-angle head pre-attached for cabinet/electrical work
- Standard drill head with depth gauge pre-set for your common projects
- Bits organized by task (not size) in labeled holders
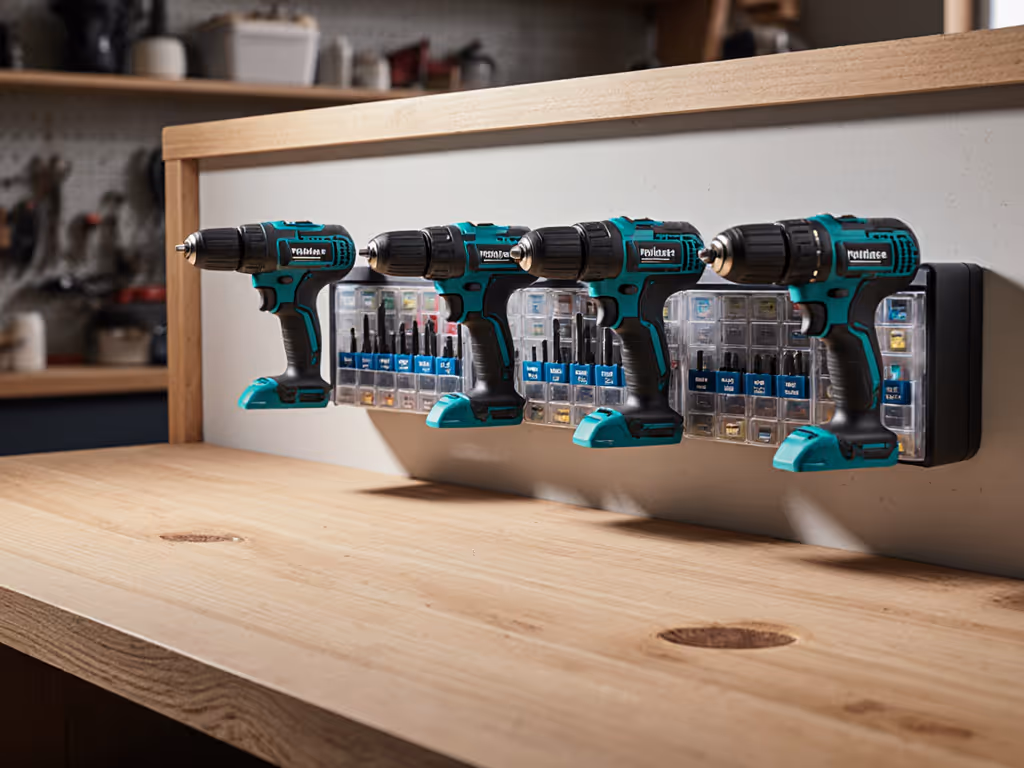
Notice what's missing? Separate toolboxes for each function. With modular systems, your "drill station" becomes a single hub where attachments live ready for use. This cuts setup time from 5 minutes to 30 seconds, a huge win for small shop productivity when you're squeezing projects between work shifts.
Maximizing Your Modular System: Beyond the Basics
Workshop Efficiency Hacks That Pay Off Immediately
Once your foundation is set, these small tweaks generate outsized returns:
The 2-Battery Minimum Rule Always have one battery charging while one's in use. For small shops, this means:
- $25 to $40 extra for a second battery (worth every penny)
- A wall-mounted dual-port charger visible from your work area
- Labeling batteries "A" and "B" with a Sharpie to track usage
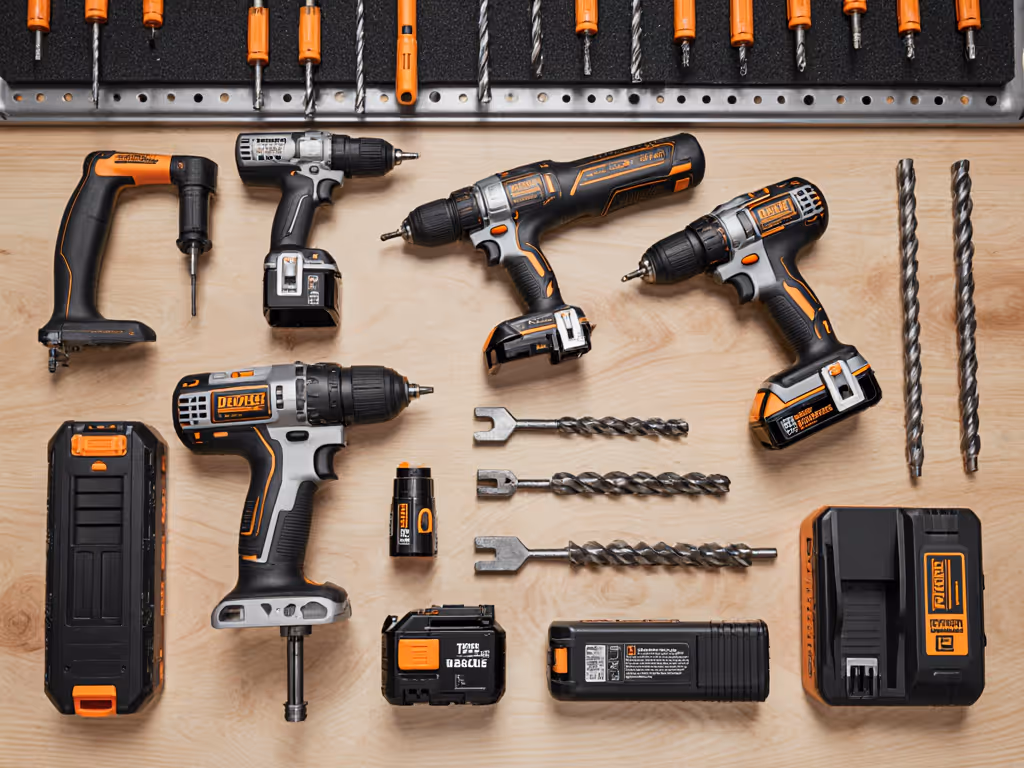
Project-Specific Bit Trays Instead of sorting bits by size, create custom trays for:
- "Deck Building" (step bits, concrete bits, deck screws)
- "Cabinet Face Fixtures" (countersink bits, small drill bits)
- "Electrical Rough-In" (spade bits, fish tapes)
Clutch Calibration for Confidence Most beginners leave the clutch on max settings. Instead:
- Test on scrap wood with your common screw type
- Turn clutch down until it just drives the screw without camming out
- Mark that setting with a permanent marker
This simple step prevents 90% of "I stripped another screw" disasters. When you win the first hole, you build momentum for the next 99. That momentum matters.
The True Modular System Value: Adapting to Your Growth
What separates a gimmick from a genuine small business tool investment? Long-term flexibility. Your system should grow as you do:
| Project Stage | What You Need | Modular Solution |
|---|---|---|
| First-time DIYer | One reliable tool for basic fixes | Base unit + driver head |
| Weekend Warrior | Access to tight spaces | Add right-angle attachment |
| Small Contractor | Platform for crew standardization | Match brand to other tools (saws, sanders) |
I helped a local property manager transform his van setup this way. He started with a basic modular drill for drywall plugs, then added a hammer drill attachment for concrete anchors. When he needed to tackle deck repairs, the same batteries powered his new circular saw, all without buying new chargers. That's modular system value you can measure in saved hours and reduced inventory costs.
Your Action Plan: Start Small, Build Smart
Here's how to implement this without overwhelm:
- Tonight: Take inventory of your last 3 projects. What one tool limitation caused the most frustration?
- This weekend: Test modular drills at your local hardware store. Bring a sample project (like assembling a shelf) to try different attachments.
- Next purchase: Buy only what solves your immediate bottleneck, a right-angle head if tight spaces are your nemesis, or a second battery if runtime kills your flow.
Don't try to recreate a professional shop overnight. Your first win might be as simple as hanging your drill station where you actually use it, not where it "should" go in a textbook workshop. When Maria went from avoiding tools to finishing her porch railing, it started with one properly set clutch and marked pilot holes, not a $2,000 tool wall.
Your modular drill workshop setup isn't about having every attachment. It's about having the right attachment for the project in front of you, ready when inspiration strikes. That's how small shops turn tool frustration into project momentum, one win-the-first-hole moment at a time.
Start your setup today: Grab a spare wall stud, mount your drill with its most-used attachment, and try one project with your clutch intentionally set below max. Notice how much more control you have? That's the beginning of confidence.
Related Articles